Digital Photography: Working With What You've Got
A while back I posted about the equipment that we've collected and use for many of the photos on this site and on Snappy Casual, but a lot of the photos we take come from our iPhones. And I got to thinking about how much of photography has nothing to do with expensive equipment, but rather about working with what you have. That being said, equipment can make a big difference if you know what you're doing, but for the purposes of this post, let's focus on some basics of photography that can be applied in every situation, no matter the equipment you have.
6 Tips for Improving Your Digital Photography
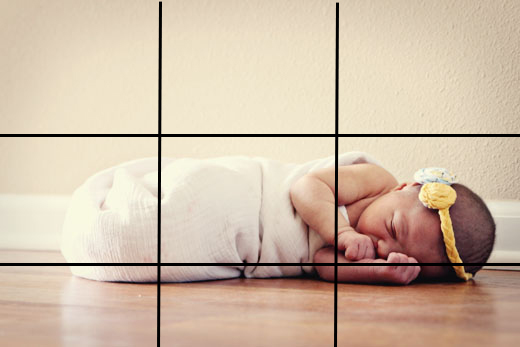
Composition: This is the overall look of the entire photograph. What's in the foreground? What's in the background? Where is the eye drawn to? The rule of thirds is a great start to help develop an eye for composition. Most cameras even have a setting that will break the screen into guides to help you. The iPhone camera has this as well.
When framing the shot, be sure to look for heavy lines horizontally and vertically that you can place on one or more of the grid lines. This is not an absolute must-follow rule, but it's a good one to start with. As you can see below, I tried to frame the floor/wall intersection on the bottom third horizontal line.
Settings: Read your manual. If you don't have it anymore, search online, there might be a digital copy you can find, but seriously, read it. Being comfortable with your equipment is one of the easiest ways to start taking better photos. Specifically, get to know how to make your way through the menu, change modes, picture styles, and turn the flash on and off.
Zoom: If you have a point-and-shoot camera, it probably has an optical zoom and maybe a digital zoom as well. The optical zoom should be OK, but I wouldn't venture too far in with the digital zoom. This is just some weak technology that zooms in but pixelates the image terribly. If you want crisp, clear photos, don't use the digital zoom.
Smart phones have digital zooms exclusively, and they suck, to be honest. I have yet to see a decent image that has come from using the digital zoom on a smartphone.
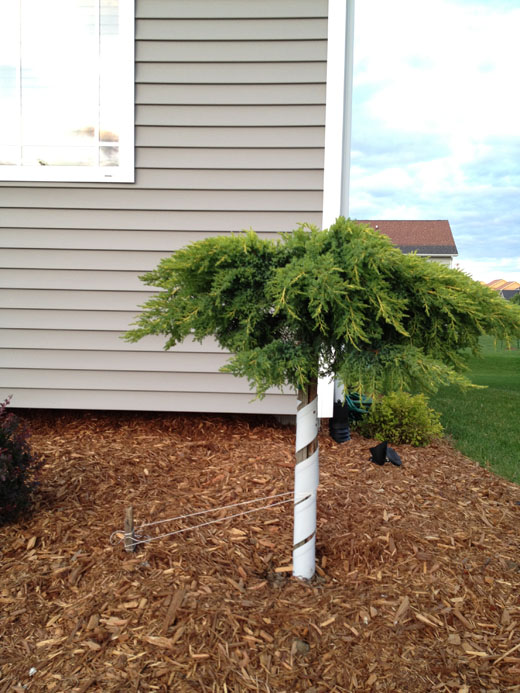
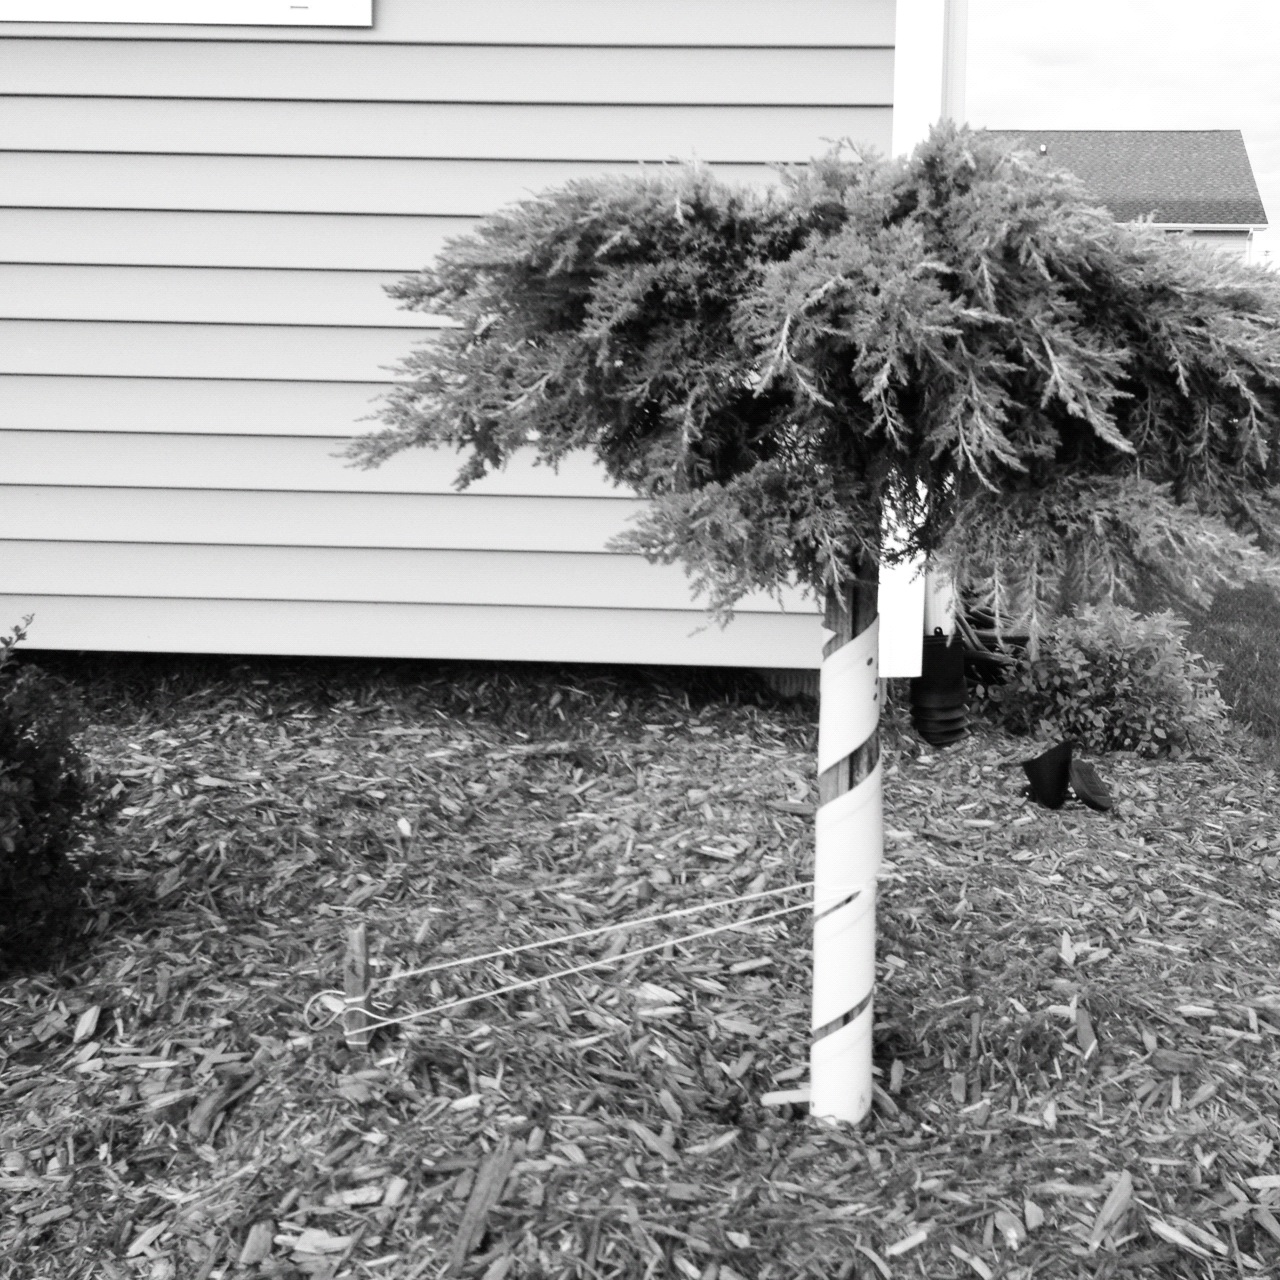
This photo was taken by getting up close to the tree:
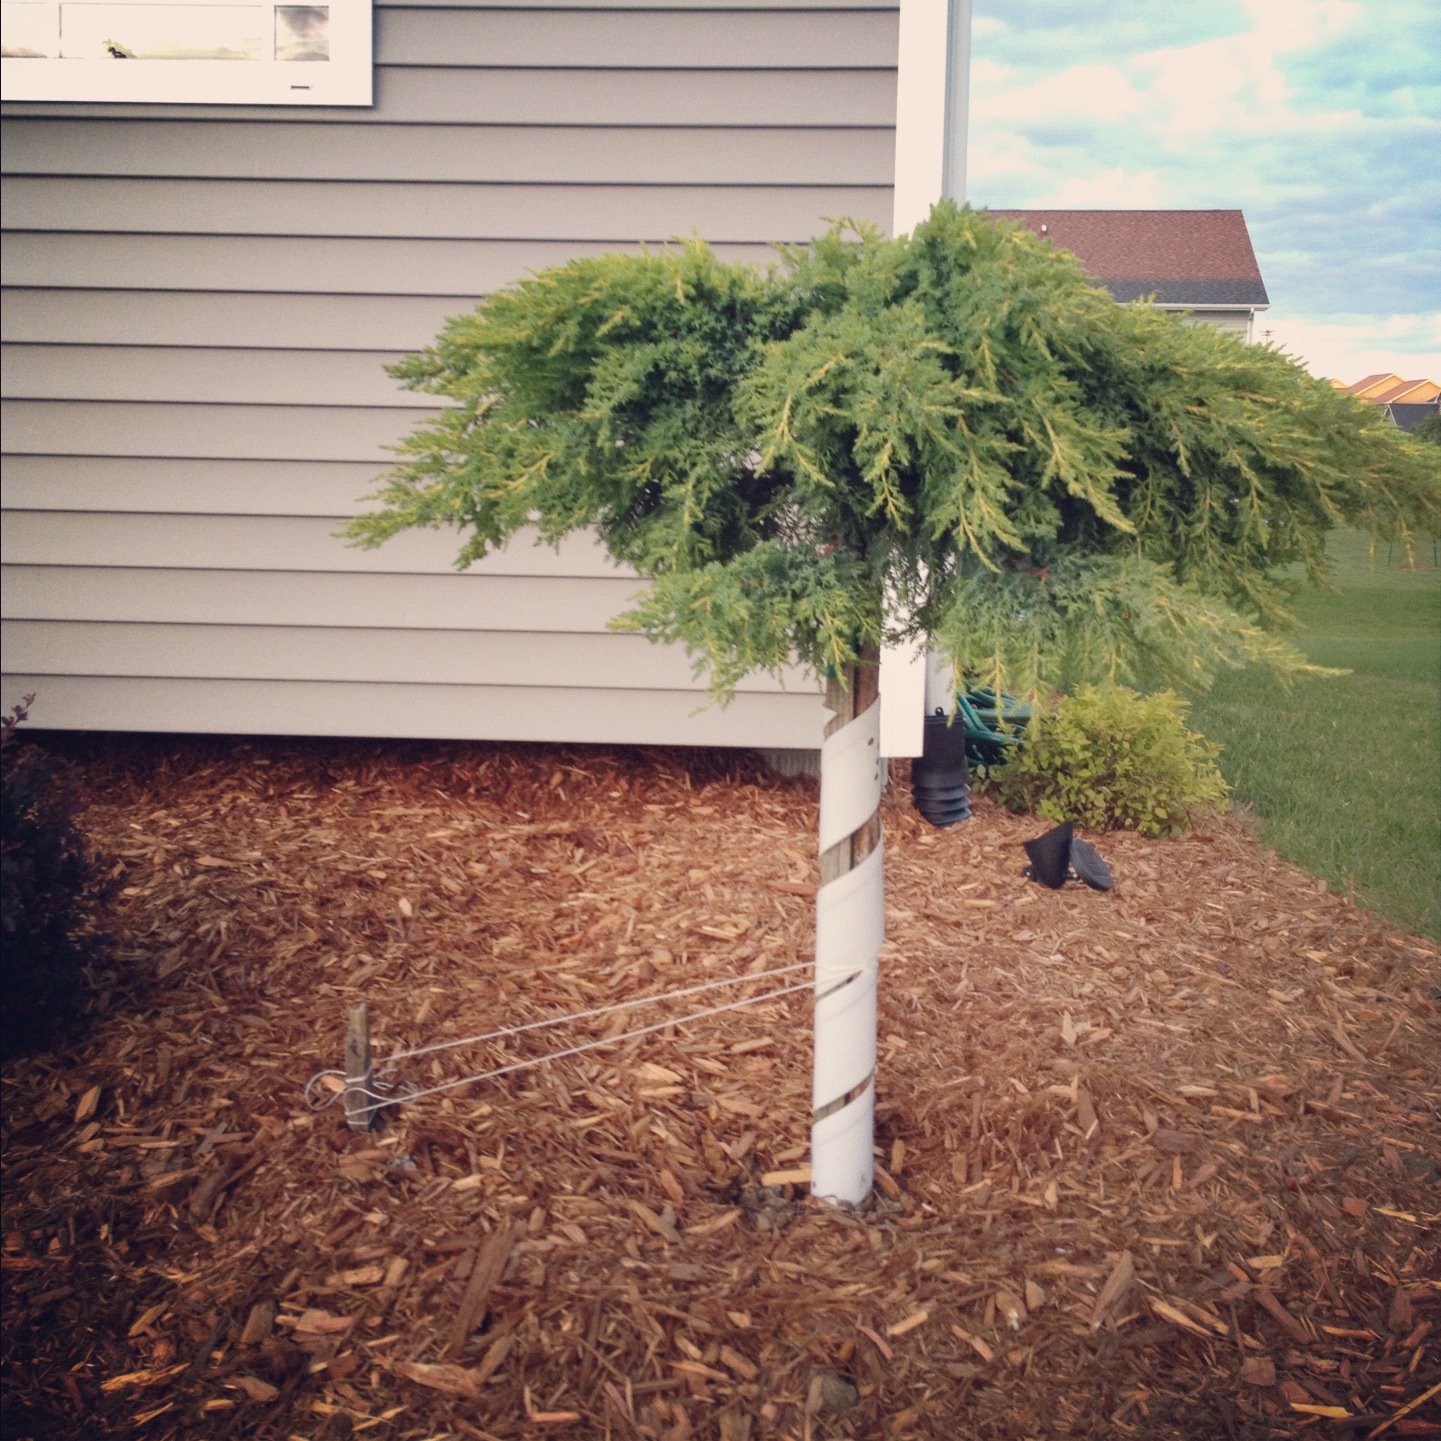
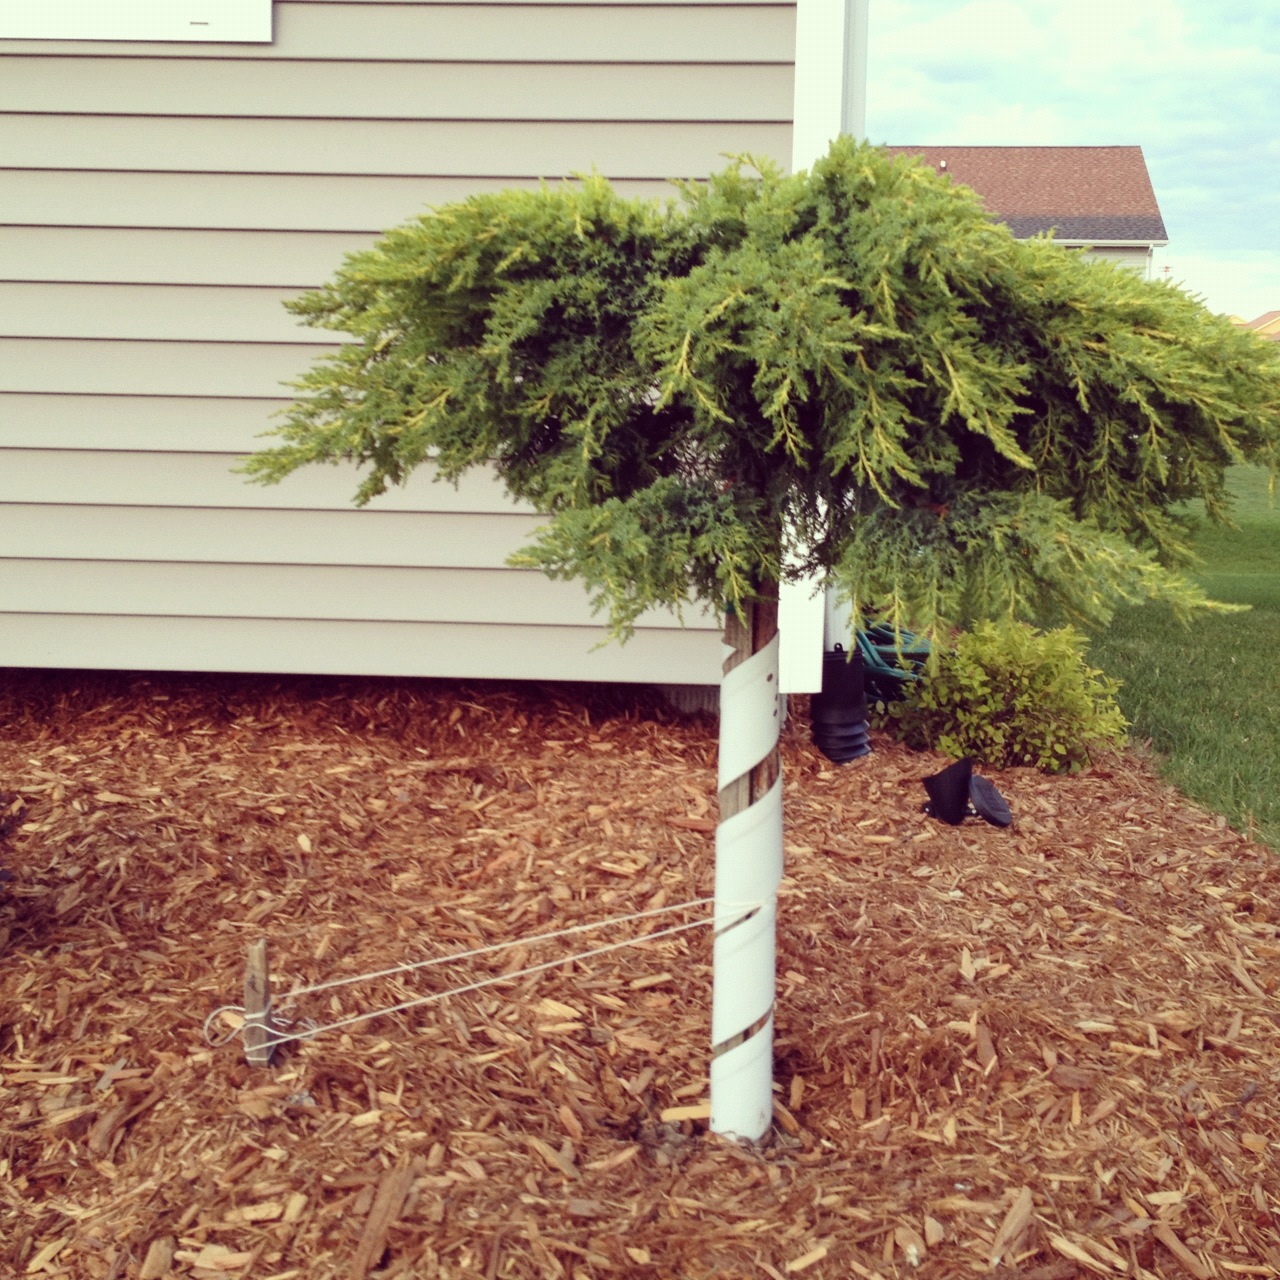
This second photo was taken about 30 feet away and using the digital zoom on my iPhone (grainy):
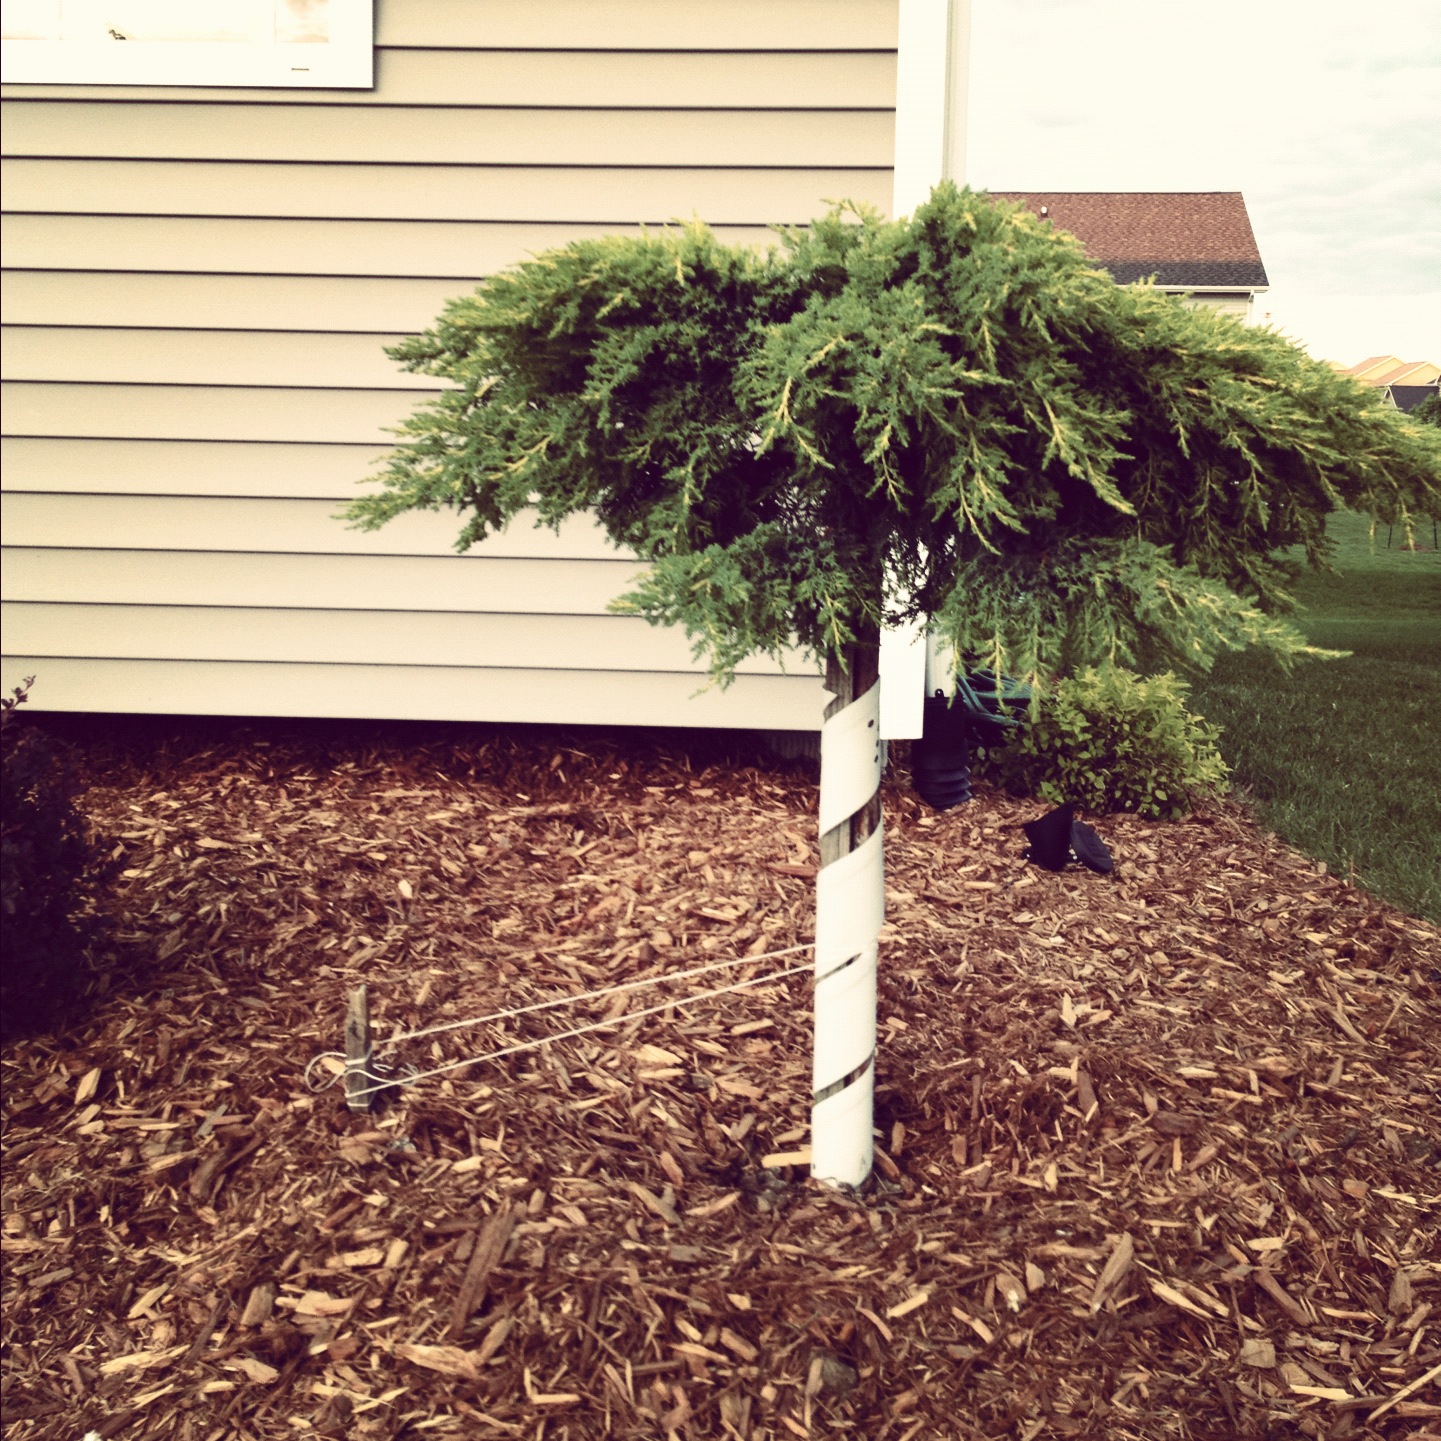
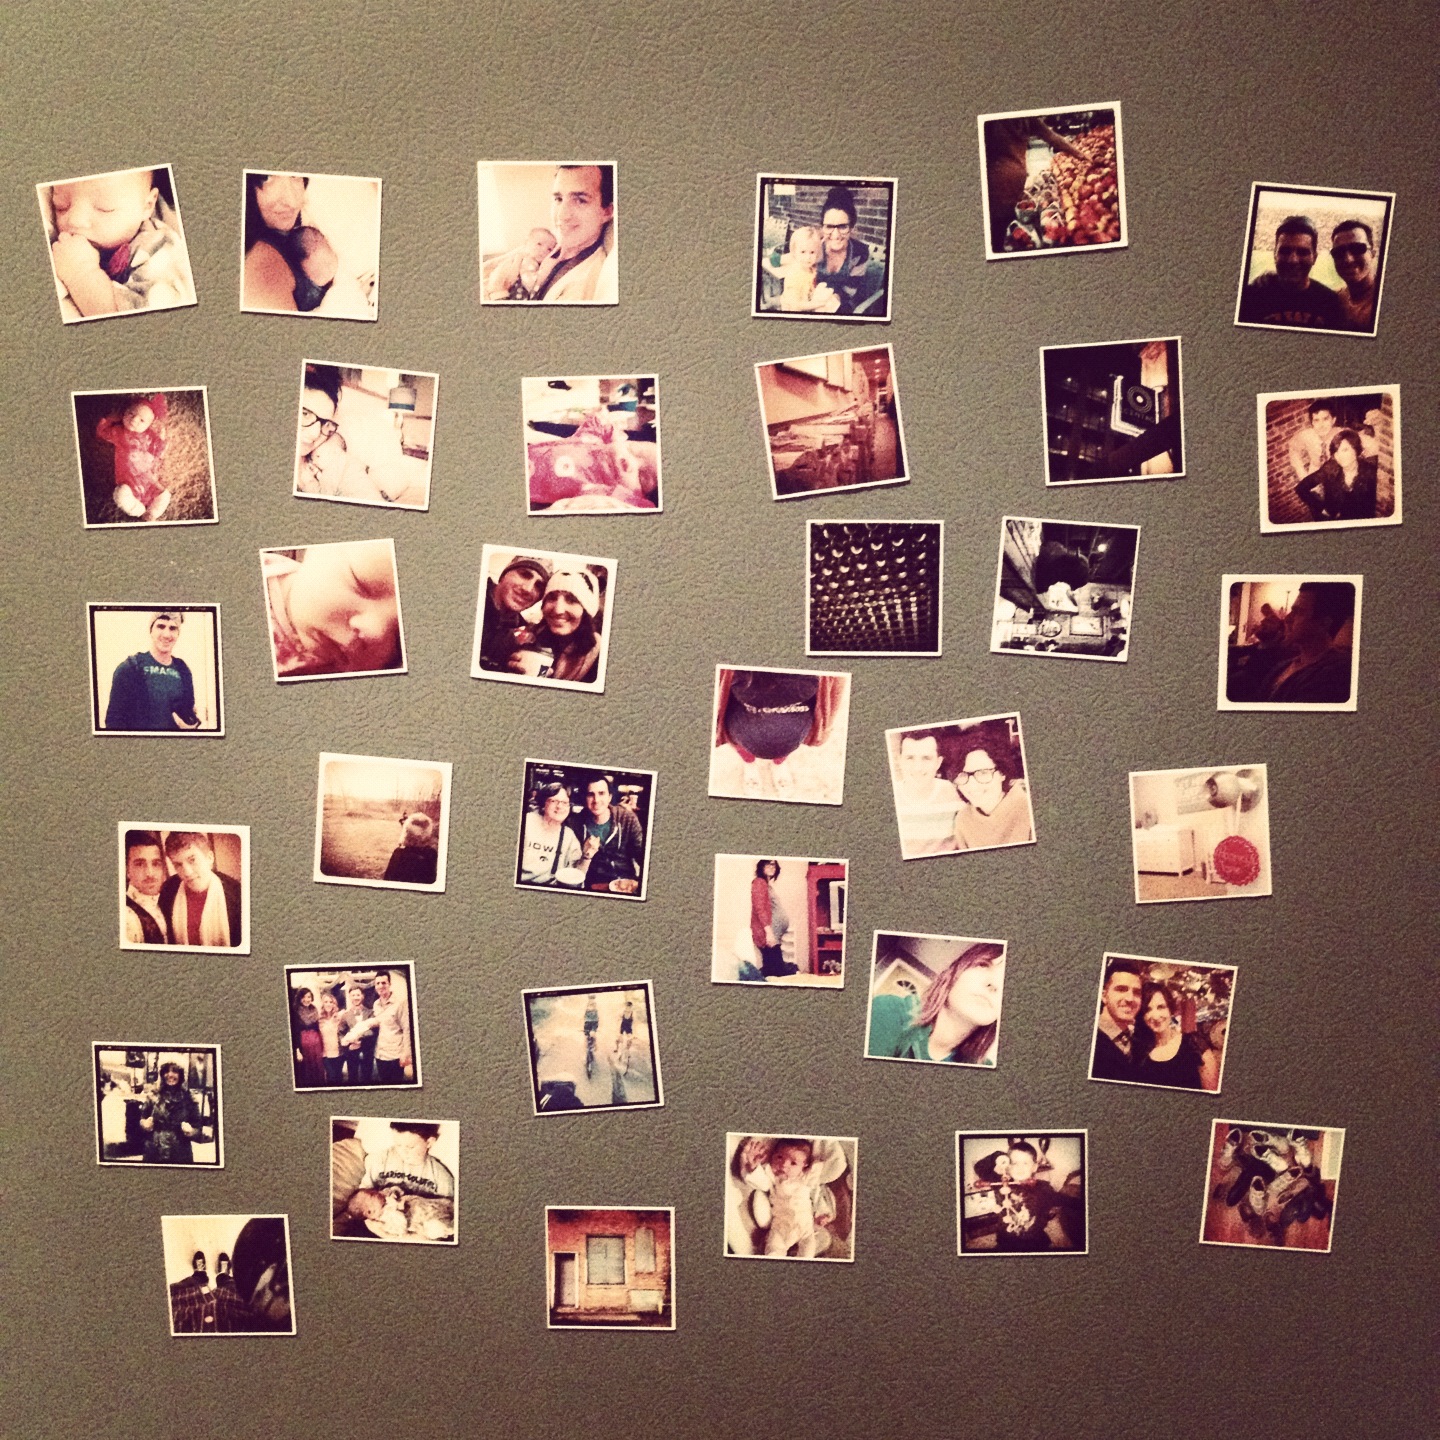
Smart phone cameras: They are super convenient, which is why you see most of our photos come in the form of square images from Instagram. It makes editing images super slick and simple. And the whole process can be fed to your social media outlets in a few seconds. Here is a look at some of my favorite Instagram filters.
If you're in the younger generation, you know there is a shift happening. You see the physical photo albums that take up space in your parents closets, but your photo albums are only taking up space on your hard drive. That's us for sure. Instead of buying a photo album, we bought an external hard drive. We rarely print our photos (we've fallen in love with Stickygram, though!).
Do think twice when tweaking the settings in your phone's camera settings. Make sure you are capturing the largest possible file size if you are planning on printing any of the photos.
Pose yourself: Back to the zoom and smart phone topics: one of the biggest ways to improve your photography is to pose yourself...not in front of the camera, but behind it. The stance you take when capturing an image is vital to the final product. If you are using the one-handed stretched-out arm technique while tapping your foot to the music also playing through your phone, it's probably not going to turn out the way you hoped.
If you want clear, crisp photos, get in there and get steady. Get in a little bit of a rocker stance, feet shoulder-width apart, one foot slightly in front of the other, two hands on the device and be still as you snap the photo.
Angle: Part of posing yourself, zoom and composition is the angle at which you take the photo. When I take photos of people, I usually squat down so that I am shooting at waist level. This gives the most natural look. I'm tall, so if I just stood there, most photos I take would be looking down at people.
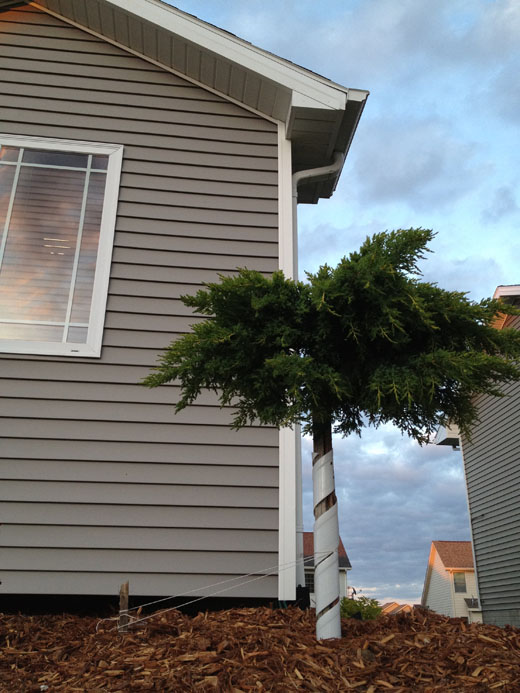
Obviously, if you are going for a more creative look, play around with angles to discover what looks best for each situation. That's half the fun. Here are two photos, one from a standing position and the other was laying on the ground.
I am by no means a seasoned veteran, but I have studied quite a bit about photography. I hope this post was helpful. The point is that you can start improving your photography today, without having to buy any new fancy equipment.
By applying the six tips above, you should be on your way to seeing some improvements. Enjoy!
Any other digital photography tips you care to share?

