Our Big Landscaping Project
We've owned our house for five years and just finally landscaped last weekend.
Yes, I'm embarrassed.
But we never really had the ambition to make the investment until recently. Once we decided to take our house off the market, we committed ourselves to really enjoying the space we live in. We now look at our house in a whole new way and with a fresh set of eyes. We've got lots-o-projects we are dreaming of completing.
But, one at a time.
When landscaping was a small idea, our rough guess was that we would spend roughly $500. By the time we actually started pricing everything, we quickly realized that completing what we wanted was going to cost about three times that amount. Gulp.
Here's what went into our landscaping project.
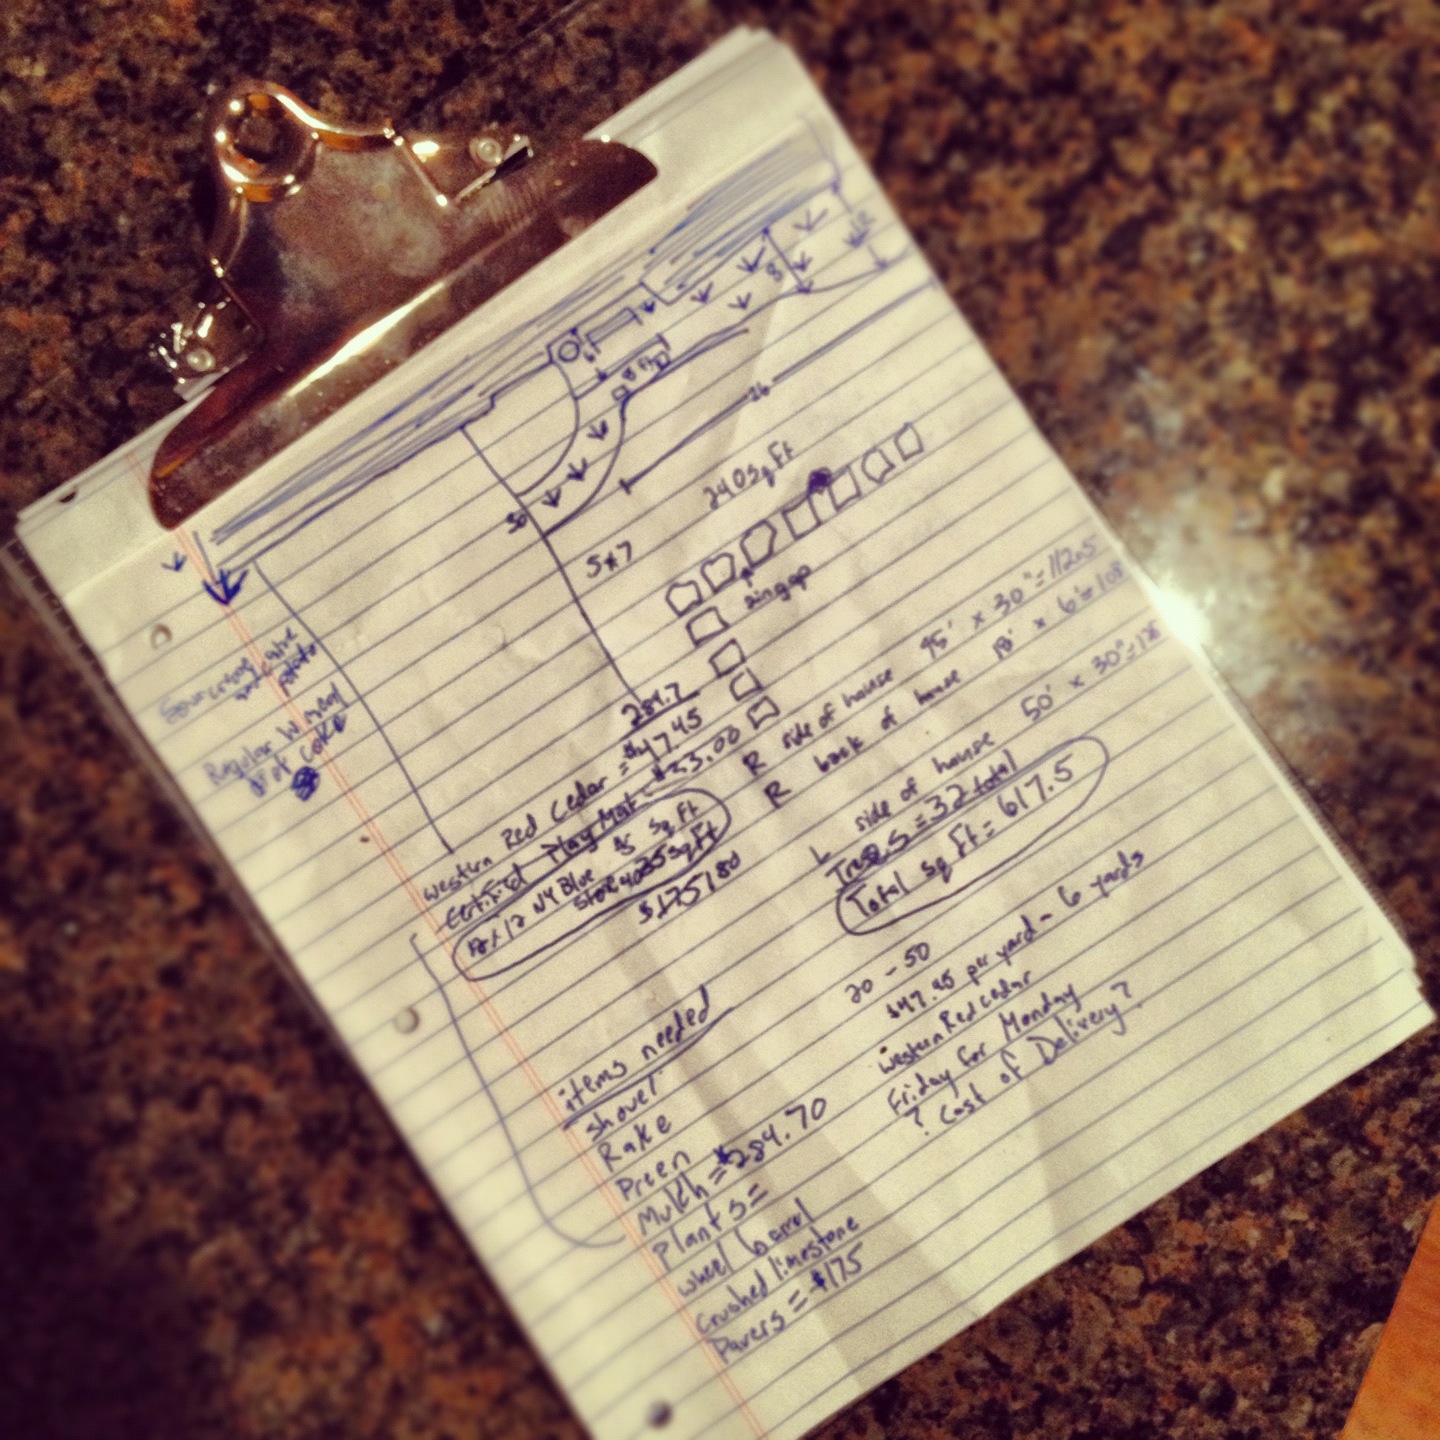
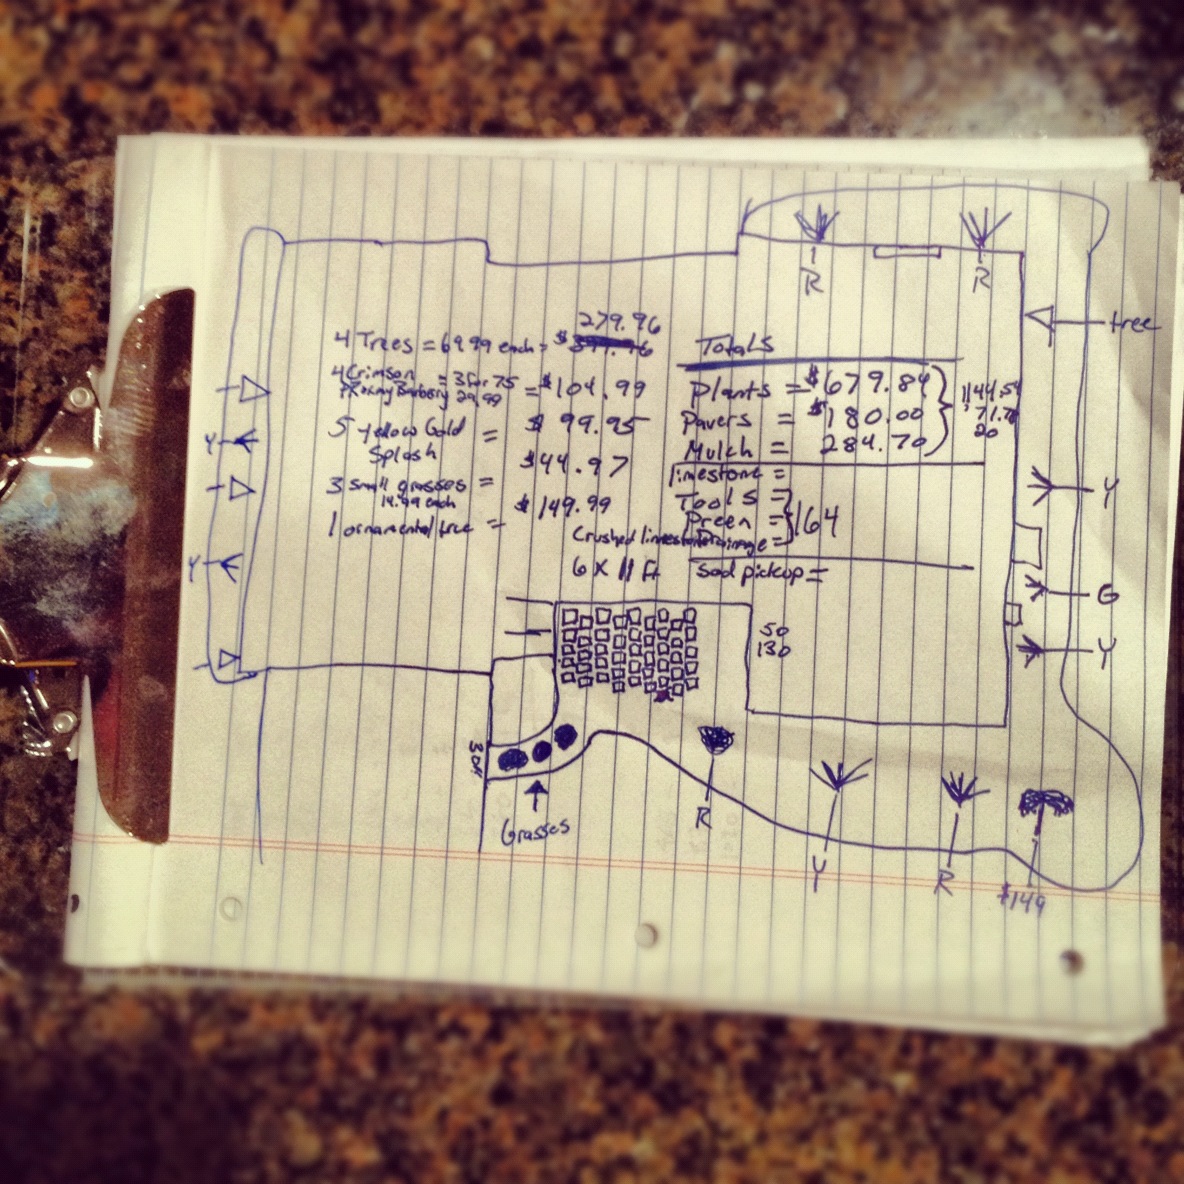
Planning
- Exhaustive planning took place before the first chunk of sod was cut. I had many conversations with a friend at work who used to work for a landscaping company. He offered many solutions to hurdles that we came across.
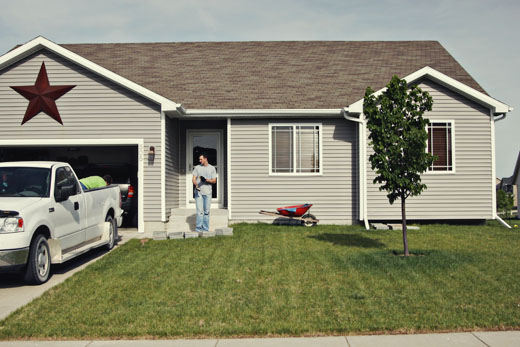
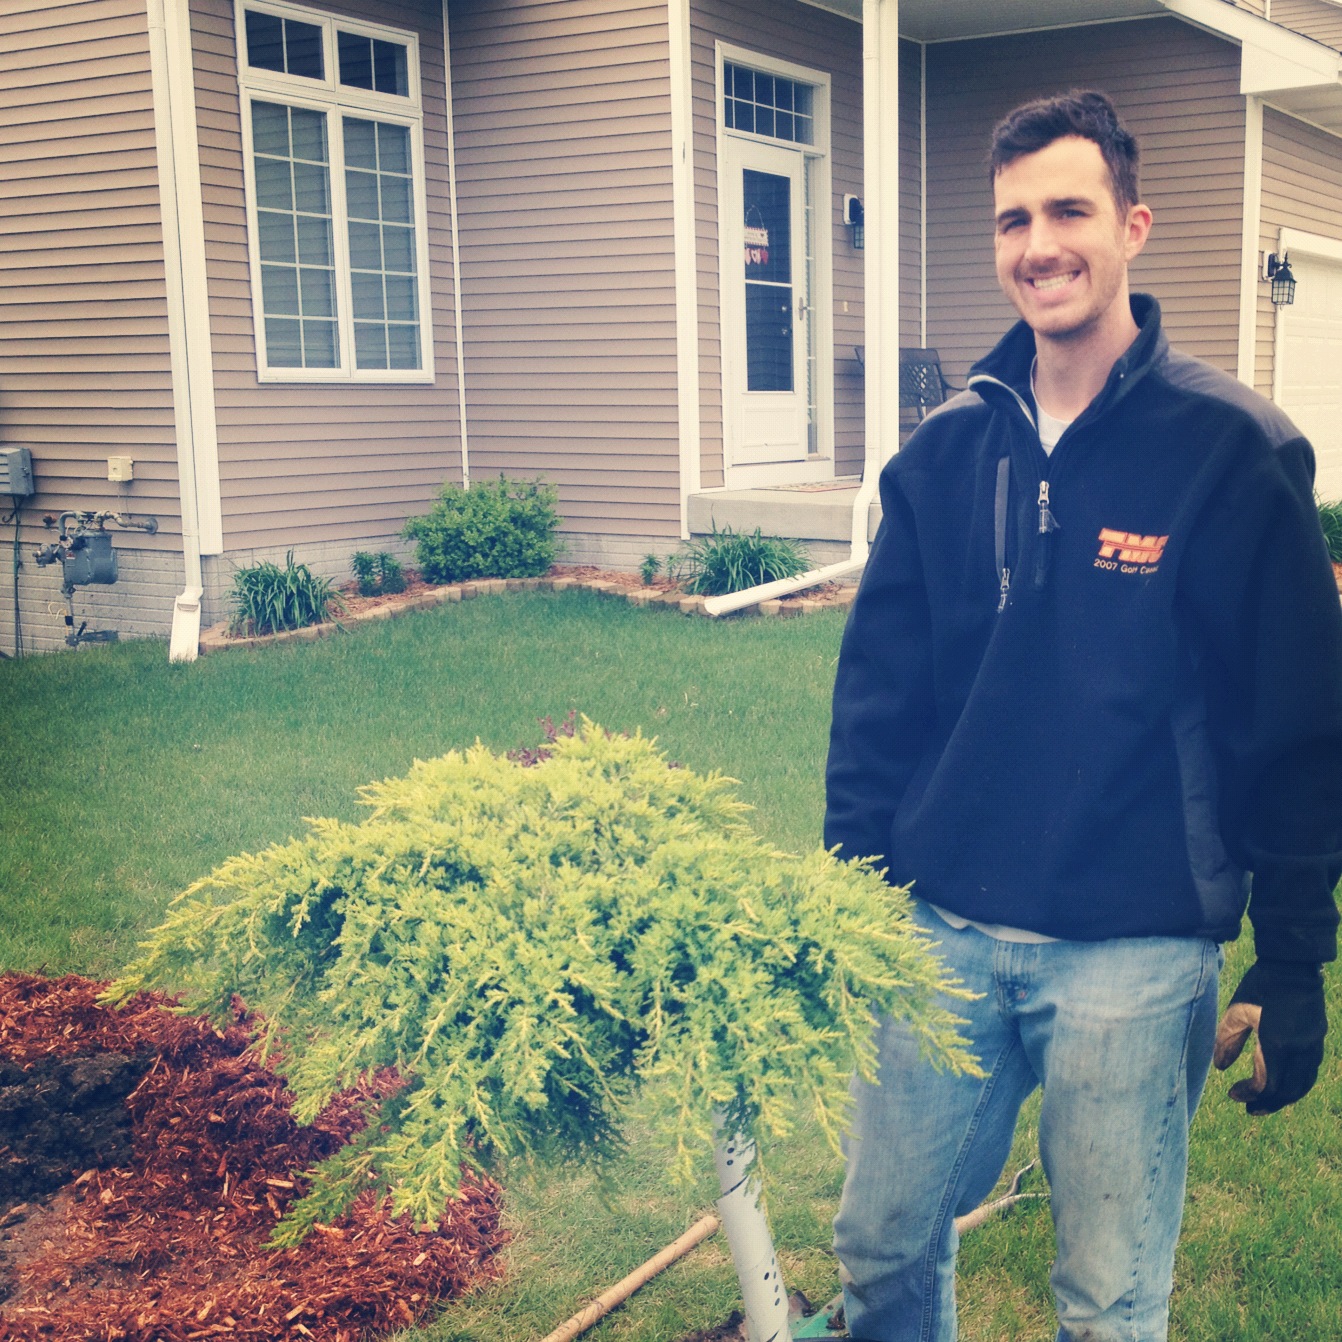
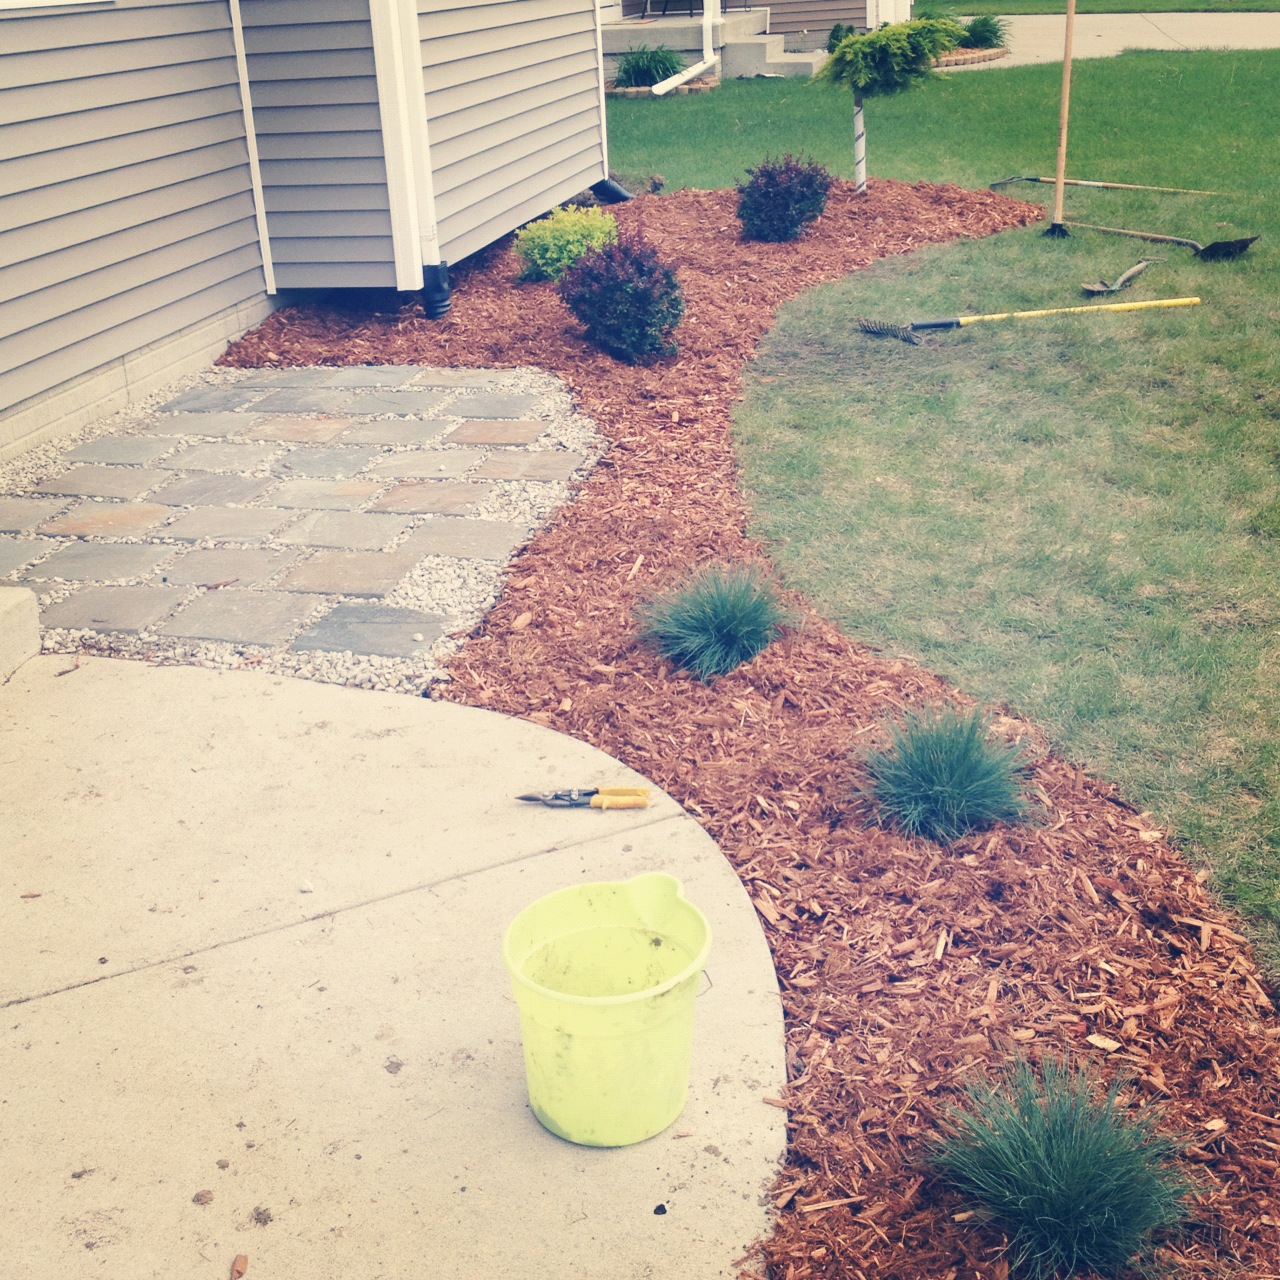
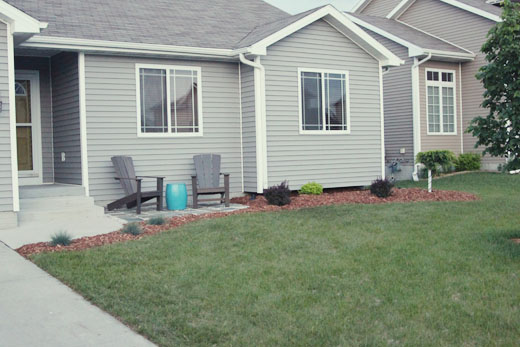
- Front: It was so boring before. I had the idea of creating a sitting area right outside our front door because there was really no good way to enjoy the front of our house, especially in the evening while the sun goes down (front faces west). We picked out an ornamental tree (Juniper Daubs Frosted), some small grasses (Fescue Elijah Blue), red bushes (Crimson Pygmy Barberry) and yellow bushes (Gold Mound Spirea).
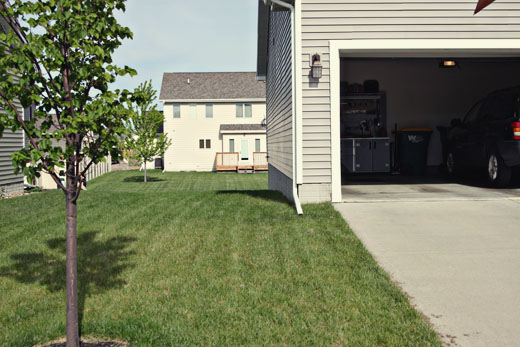
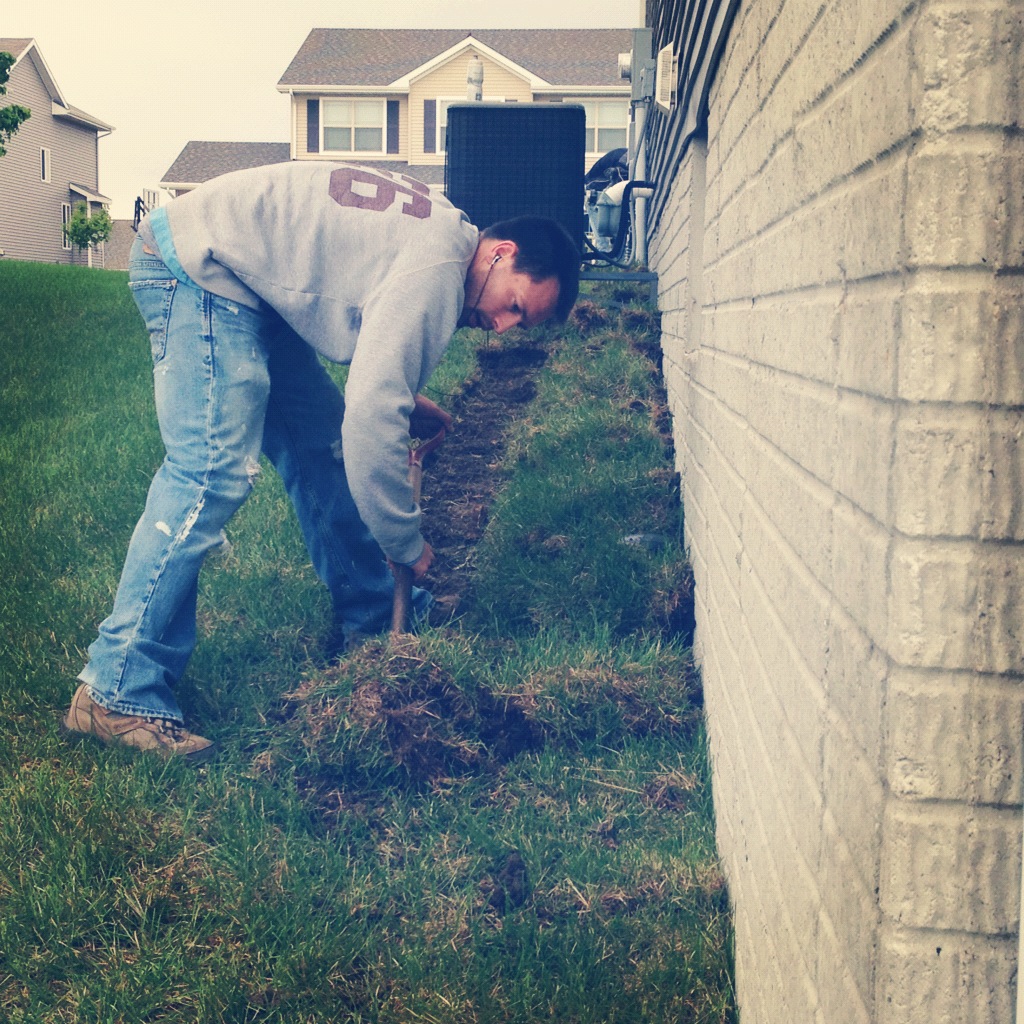
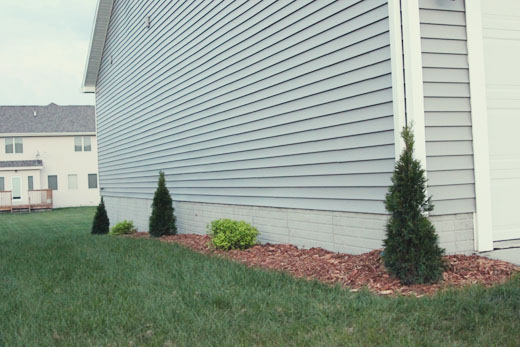
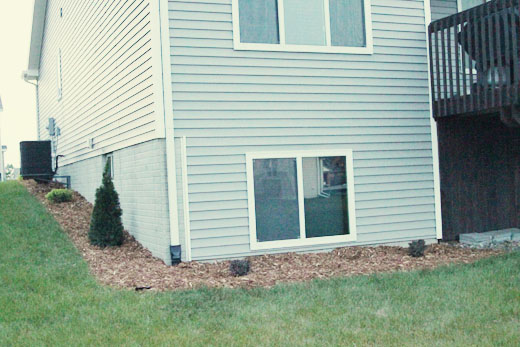
- Left side: Long, sloped and no windows. The challenge here was to break up the plain, bare look of the siding. We decided that some skinny evergreens (Emerald Green Arborvitae) would look nice and added some yellow bushes (Gold Mound Spirea) for added color and contrast. The evergreens will grow 12-15 feet tall eventually and stay pretty skinny.
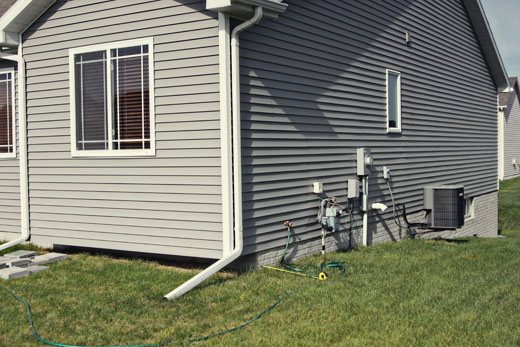
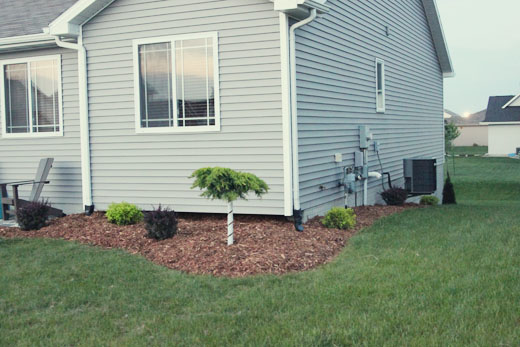
- Right side: I really just didn't want to have to mow around all that not-so-fun stuff (electrical wires/gas meter/air conditioner). We decided to add some bushes to help hide the eye sores and another evergreen toward the bottom to help provide some more contrast.
- We took a few trips to Earl May, Lowe's, Menards and Mulch Mart to see what was out there for materials: coverage, plants, edging, pavers and downspout options.
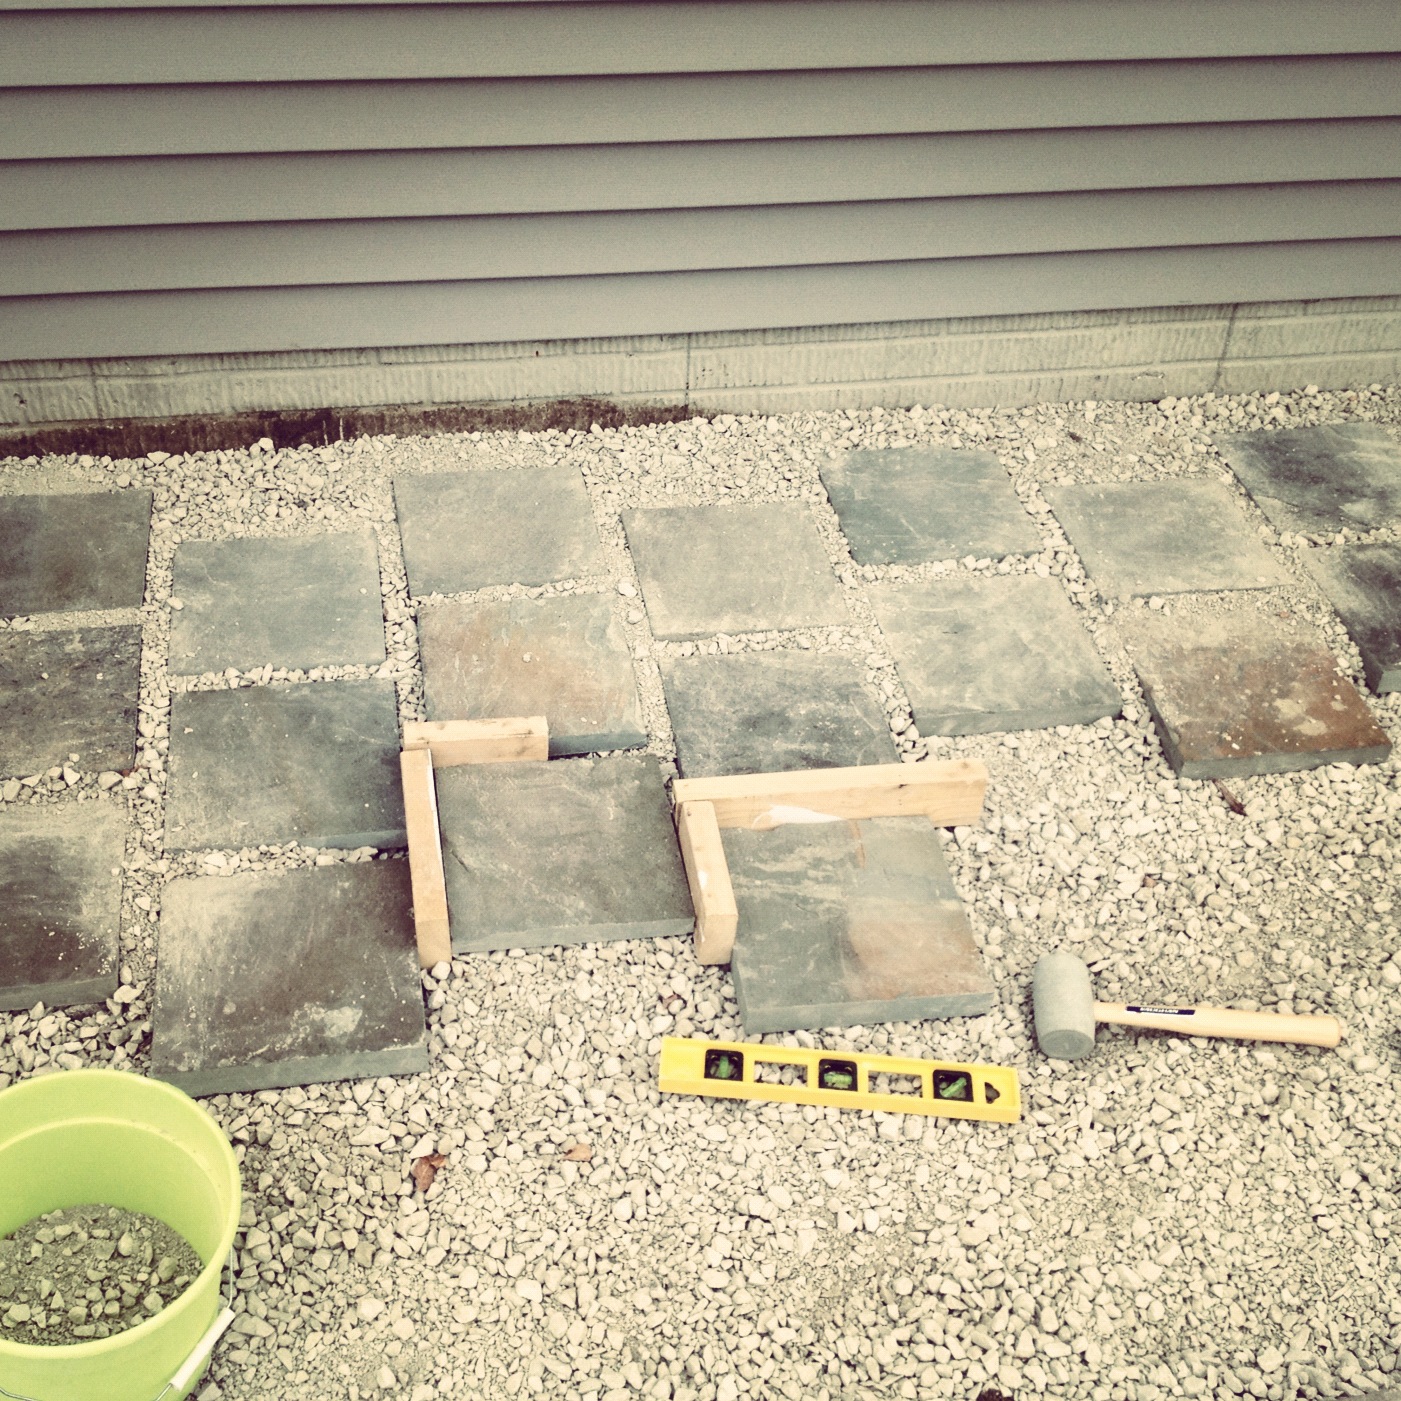
- I researched how to lay a patio and also talked to a few folks who had done it before. It remains to be seen whether it will settle and shift over the next year...time will tell.
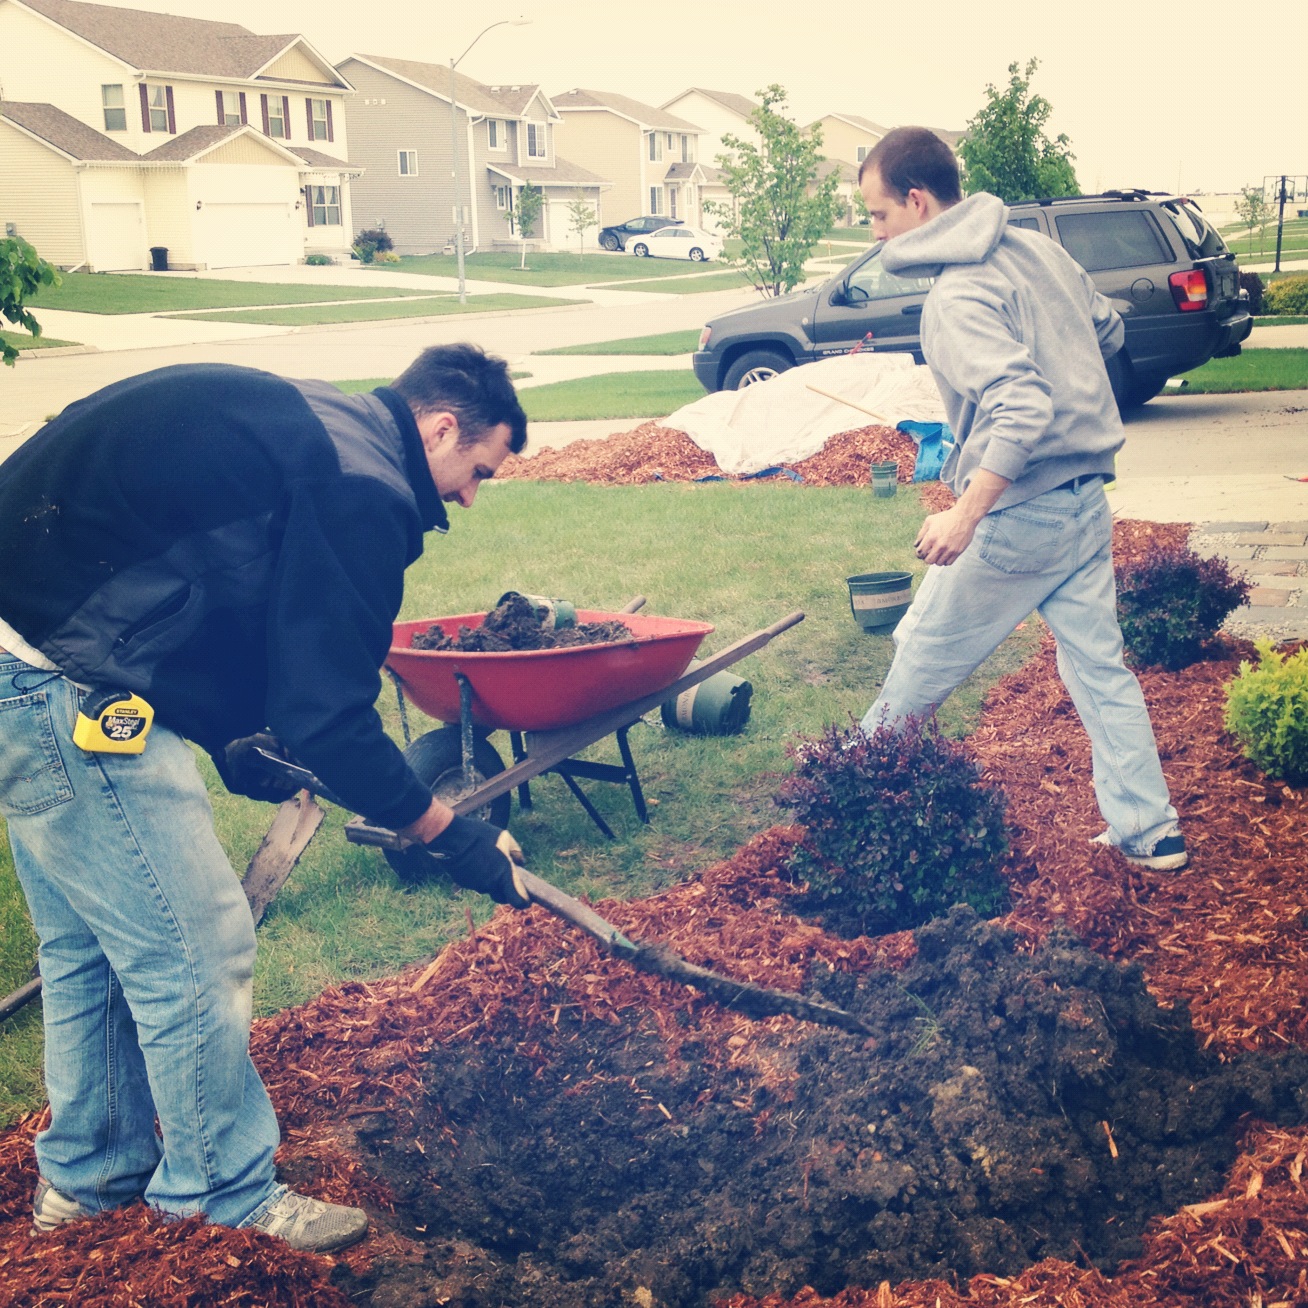
- Emails were sent enlisting help. My mom came through in a BIG way. She brought most of the essentials, including a pickup, shovels, rakes, wheelbarrow, brownies, cookies and womanpower.
- The backstage crew was just as important. Kelsey and her mom were in the house taking care of Rooney and making sure our tummies were full.
- Prayer: I literally prayed that the rain in the forecast would hold off so we could complete the project on Friday and Saturday as planned. There was originally 70% and 40% chances of rain, respectively. We only got a few sprinkles. Thanks, God!!
Putting It All Together
Then was the fun part, right?!
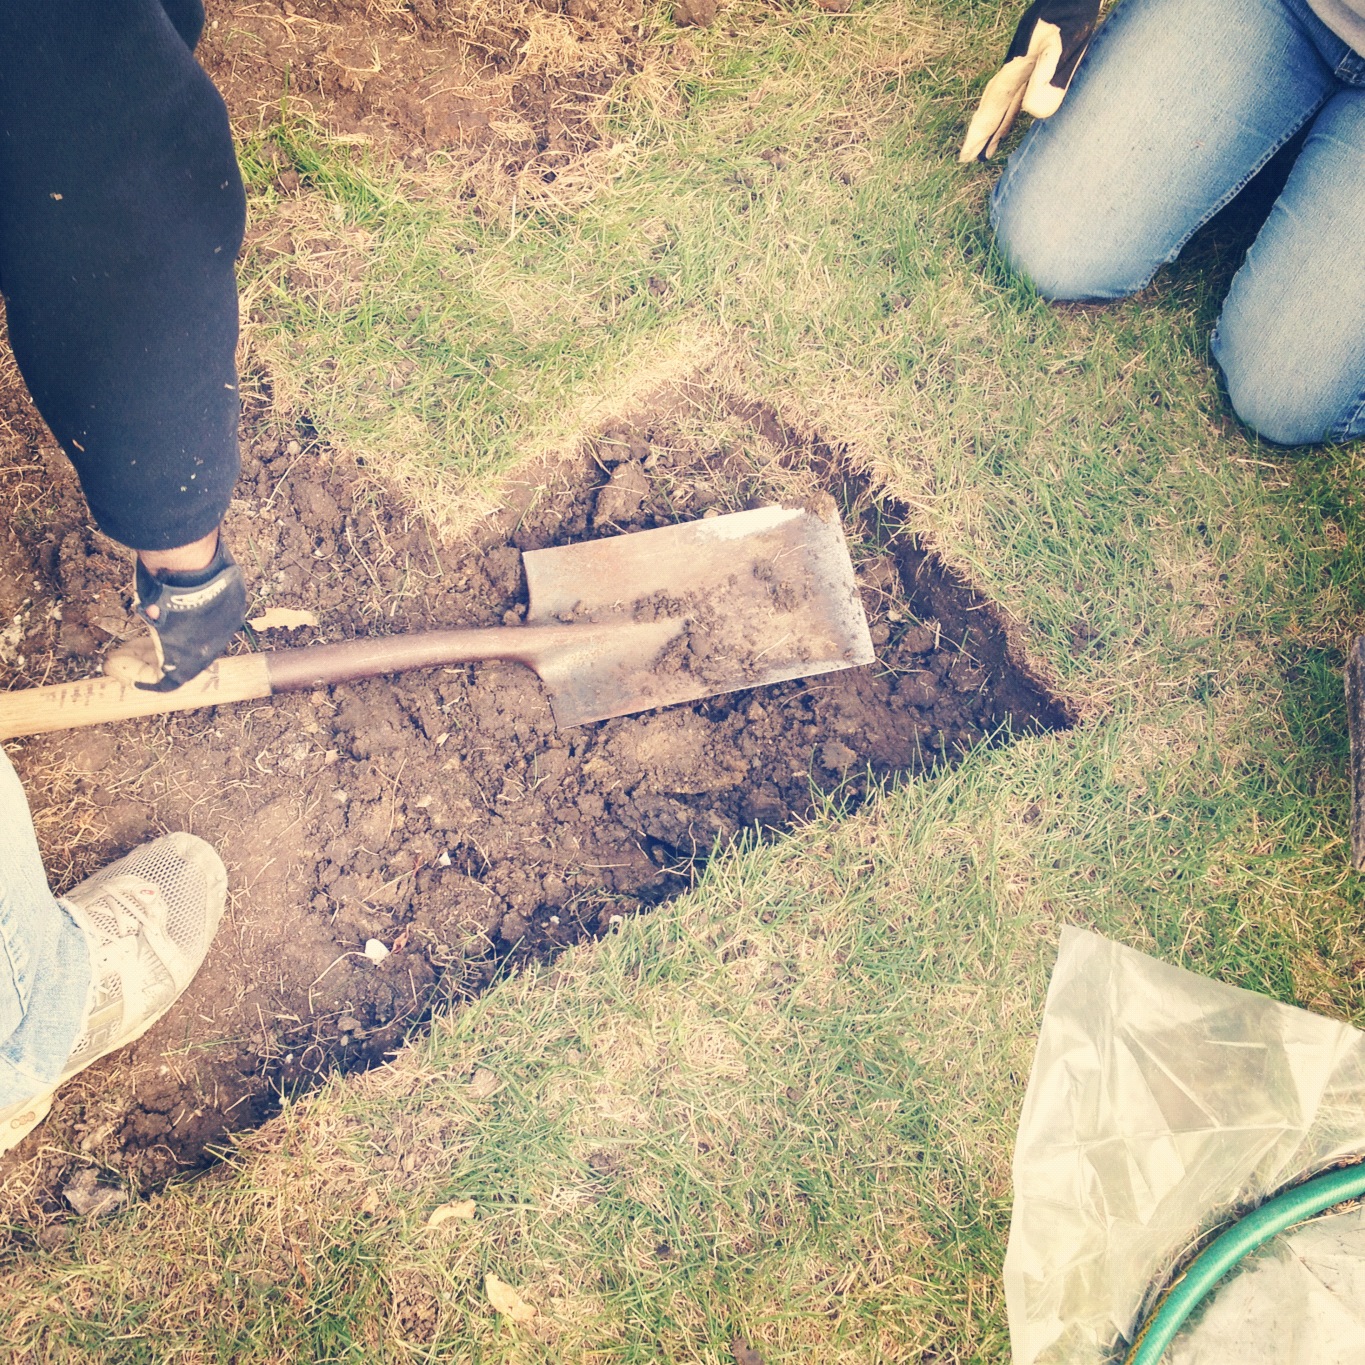
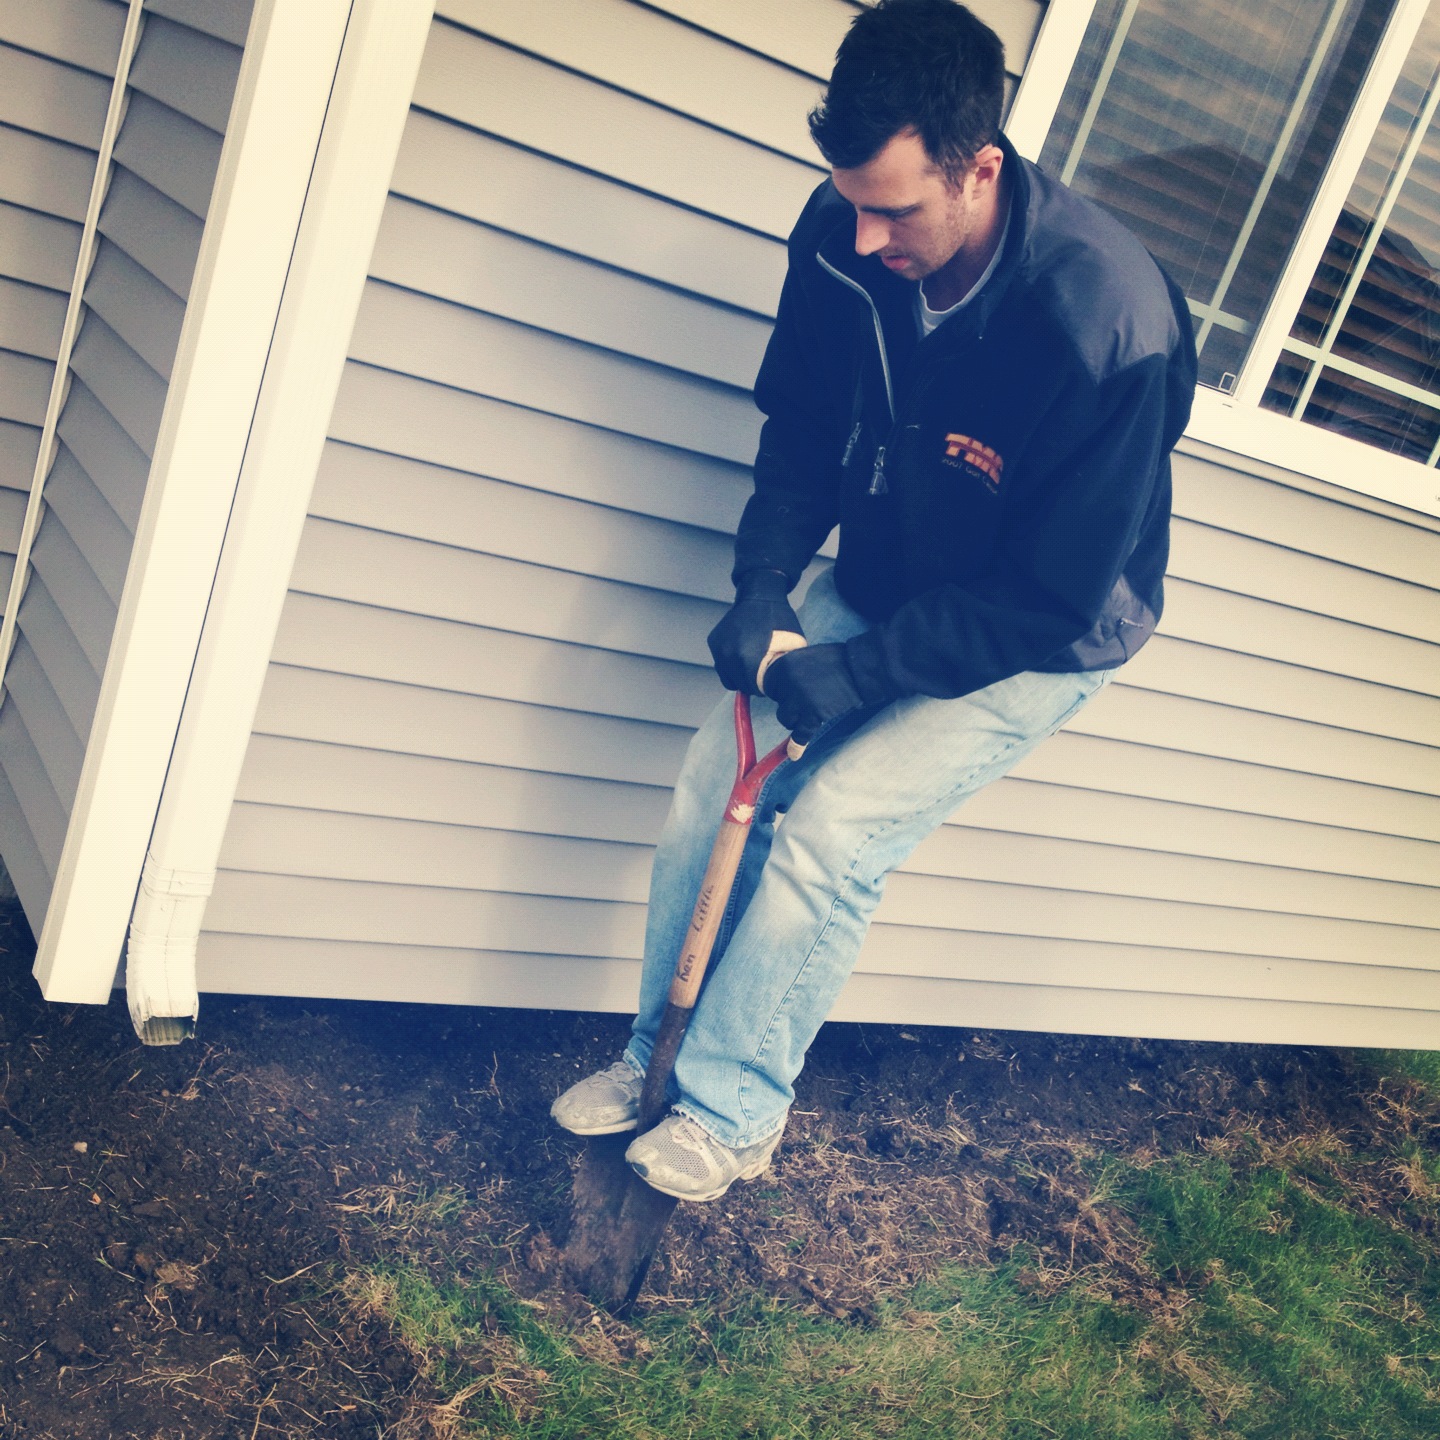
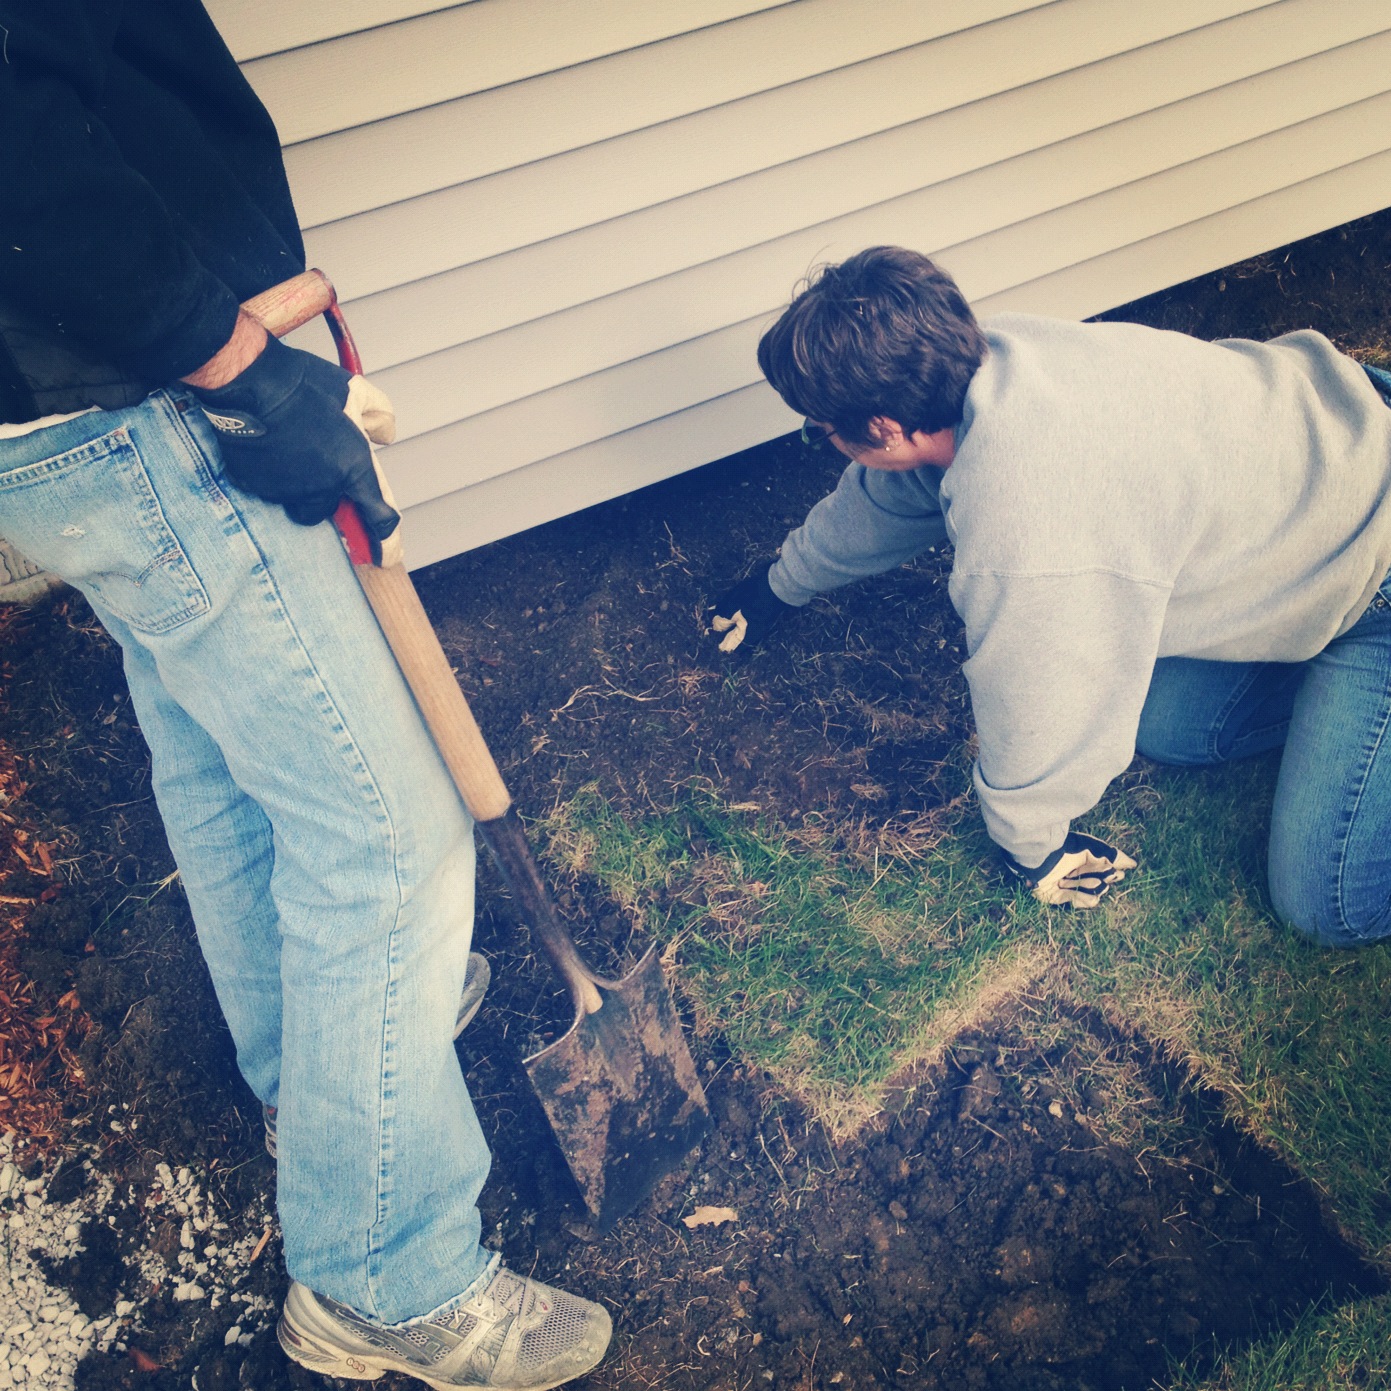
1. Tear up the sod for our patio area.
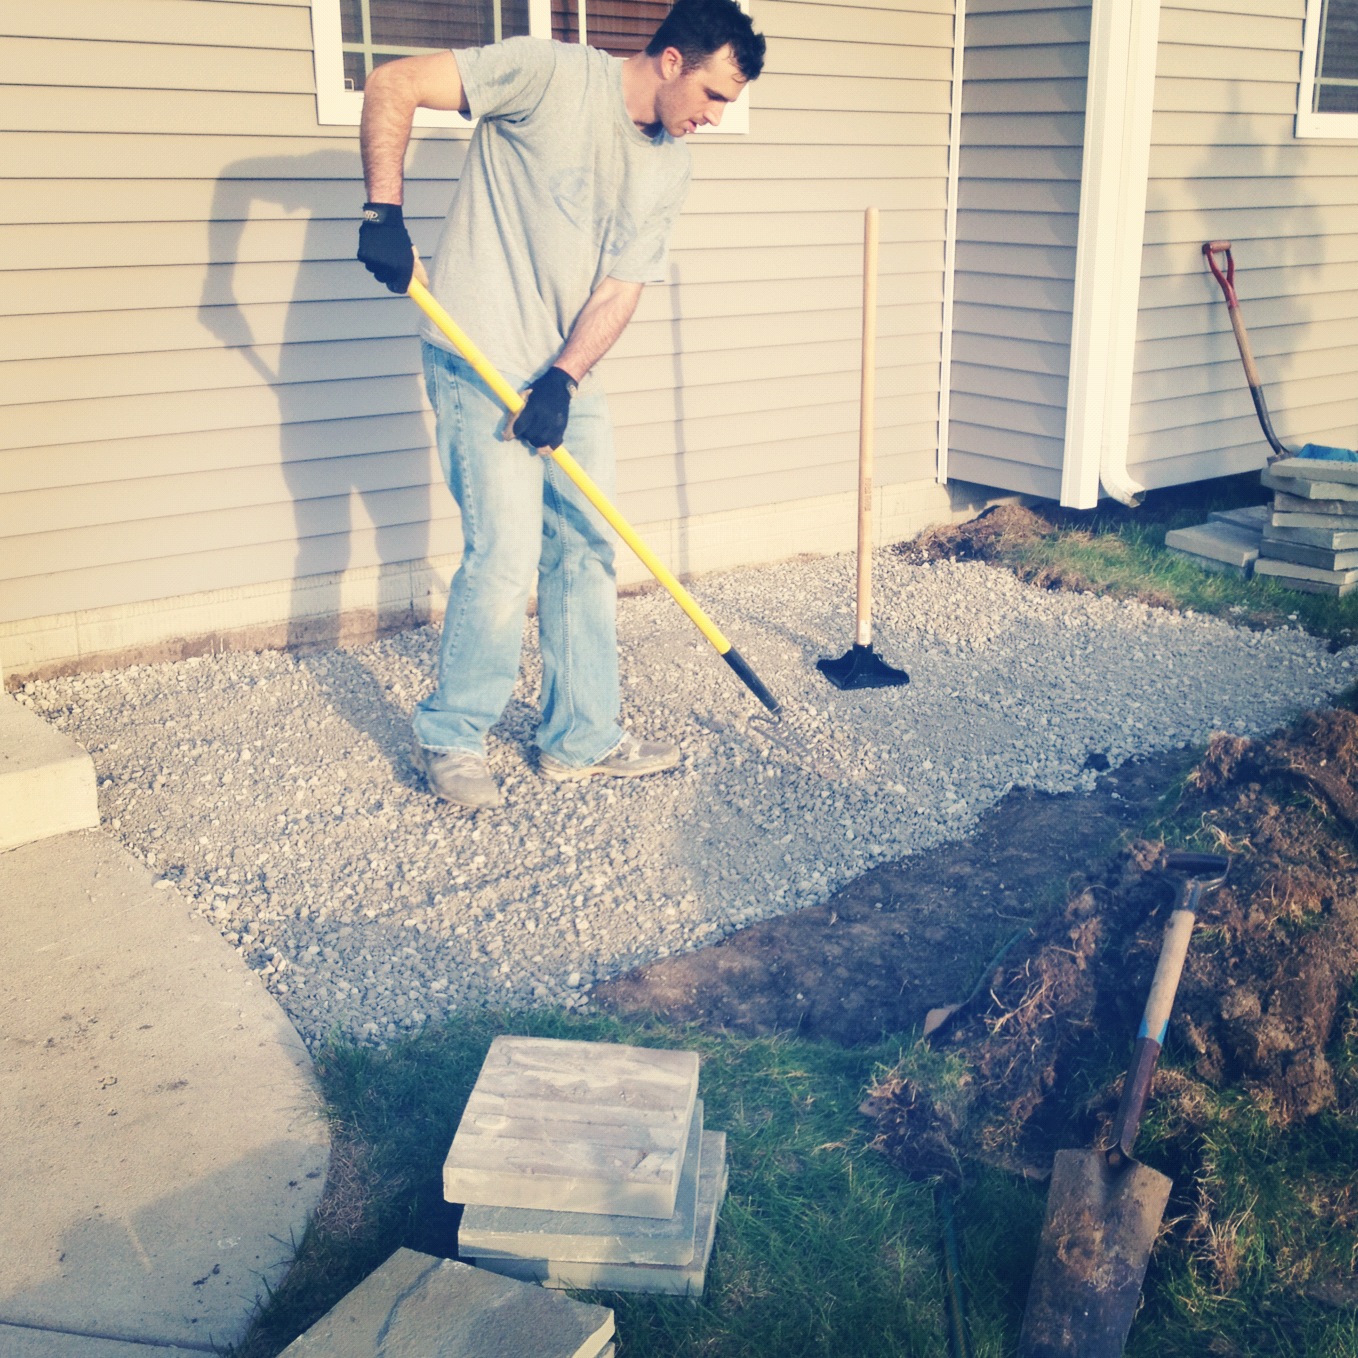
2. Lay road stone.
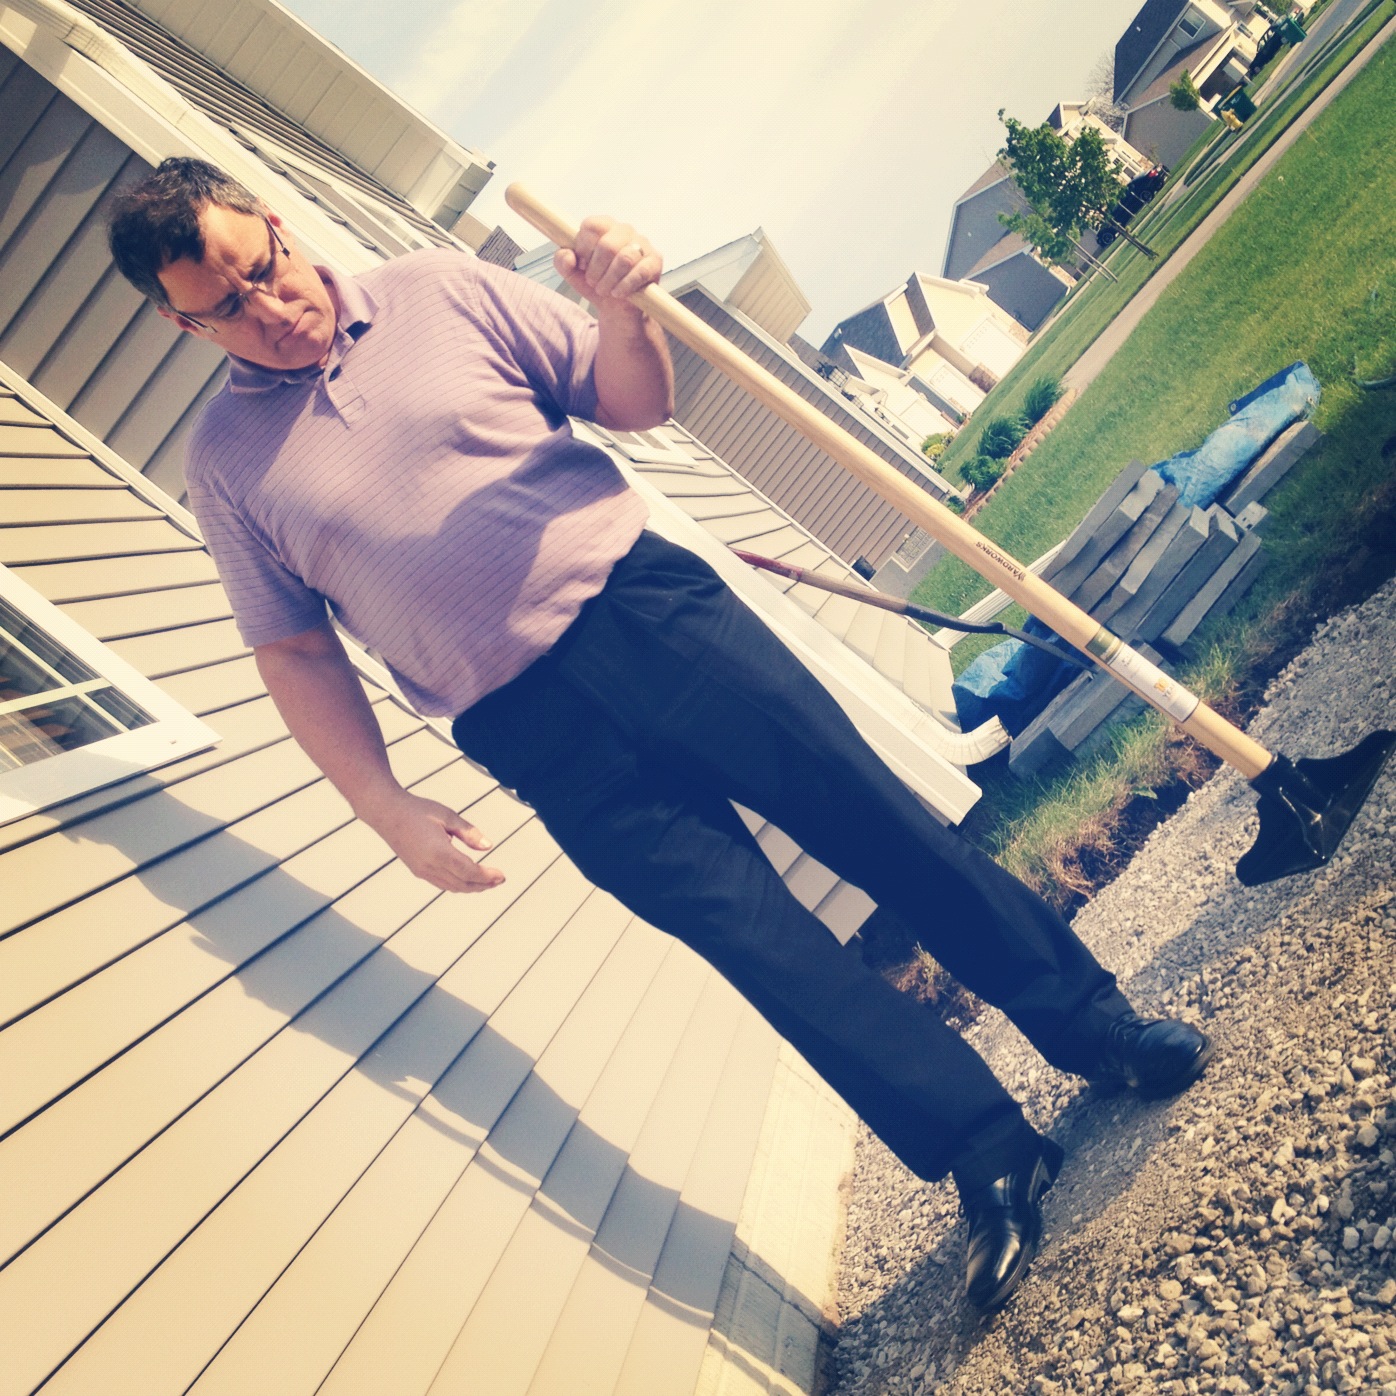
3. Tamp down road stone.
4. Lay the pavers.
5. Fill in cracks with road stone.
6. Nail down paver edging.
7. Tear up more sod.
8. Dig holes and plant.
9. Fill in with Western Red Cedar mulch.
The Finished Product
Front:
Left side:
Right side:
Back:
Woof! I'm tired again just from writing this post. It was a lot of work, but we are super stoked at the results. We can now enjoy the outside of our house and watch our little plants grow. Plus, that mulch smells delicious every time I step outside.
What's been your experience with landscaping? I kind of love it...

